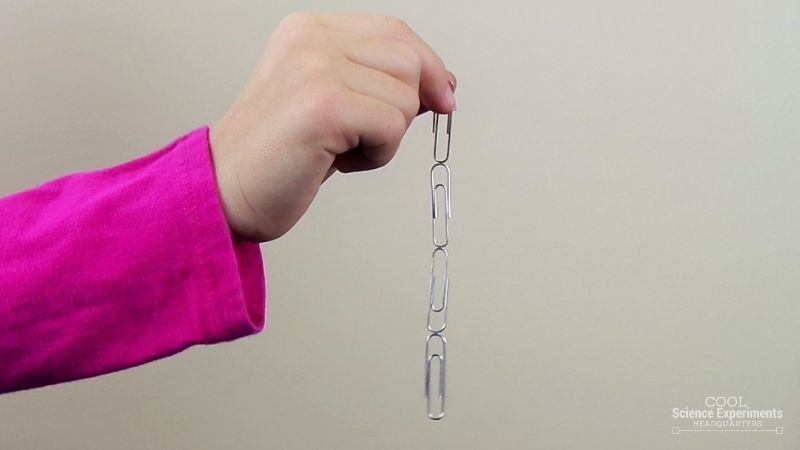
Did you know that you can get paper clips to stick together to form a chain? It may seem like magic, but it’s actually science and it’s fun!
This experiment only takes about 5 minutes to pull together and it’s perfect for toddlers through elementary age children. The result will definitely capture their attention and it’s a great way to explore magnet transference.
A demonstration video, printable instructions, and an easy to understand explanation of how it works are included.
JUMP TO SECTION: Instructions | Video Tutorial | How it Works
Supplies Needed
- 3-5 Paperclips (even more if you want to see how long of a chain you can make)
- Magnet (We used Ceramic Round Disc Magnets and put 5 together to form our magnet. You could also use a regular Ceramic Bar Magnet)
Paperclip Chain Lab Kit – Only $5
Use our easy Paperclip Chain Science Lab Kit to grab your students’ attention without the stress of planning!
It’s everything you need to make science easy for teachers and fun for students — using inexpensive materials you probably already have in your storage closet!
Magnet PaperClip Chain Science Experiment Instructions
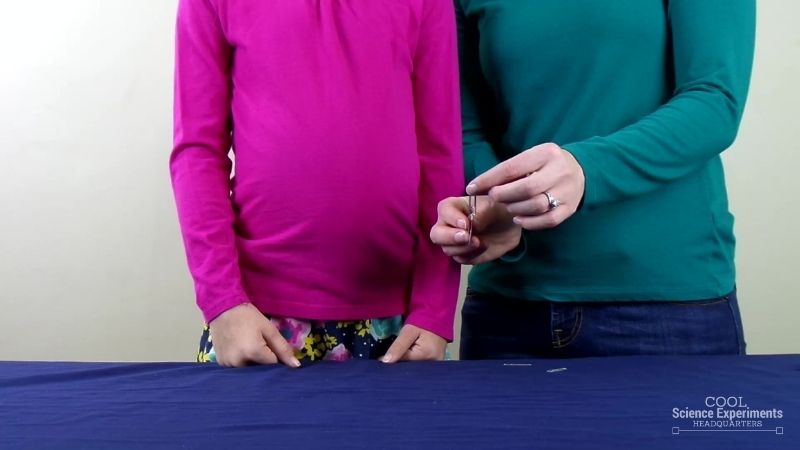
Step 1 – Begin by trying to get the paperclips to stick together to form a chain. Do this put holding one paperclip and then putting another next to it. You’ll notice that when you let go the paperclip falls to the table. There is no way to get the paperclips to stick together…unless we add another item.
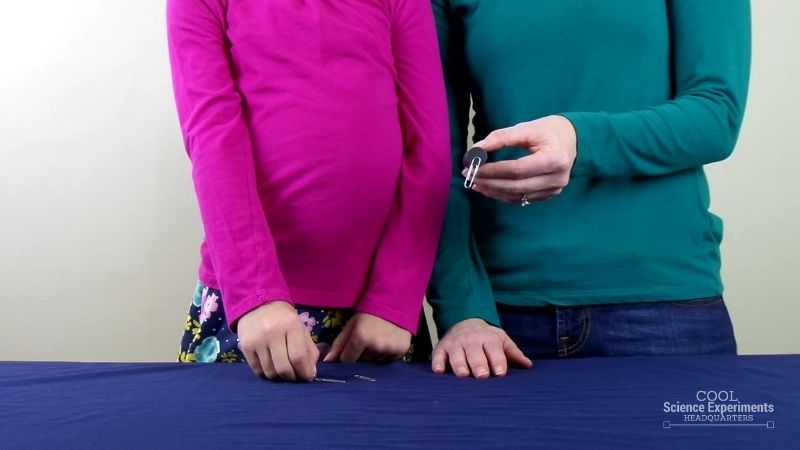
Step 2 – Next, take a magnet and place one paperclip on it.
Helpful Tip: The stronger the magnet, the more paperclips you will be able to stick together. We used Ceramic Round Disc Magnets and put 5 together to form our magnet. Another option is to use a Ceramic Bar Magnet.
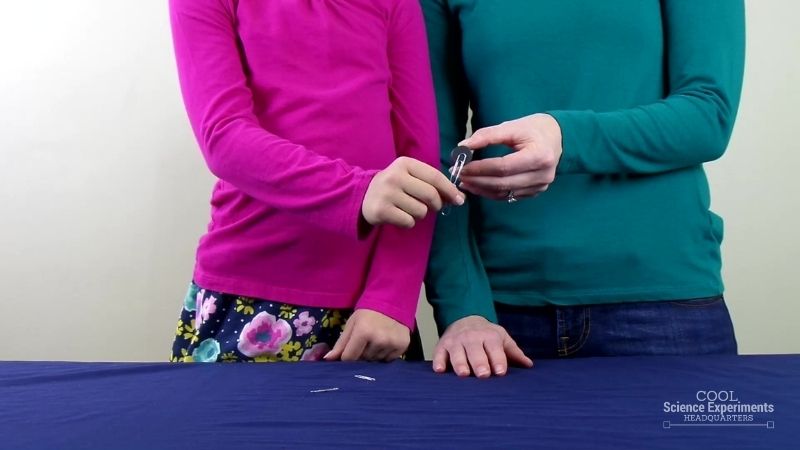
Step 3 – Next, slowly add a second paperclip to the bottom of the first one. Take your time on this one because the magnetic force will want to pull the second paperclip up to the magnet, but if you are patient, you can get it to balance at the end of the first paperclip.
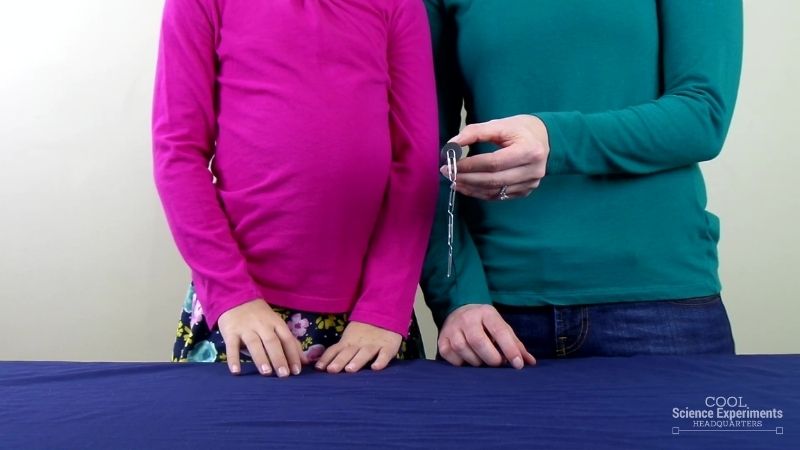
Step 4 – Once you have two paperclips stick together, try to add another and then another until you’ve formed a long paperclip chain.
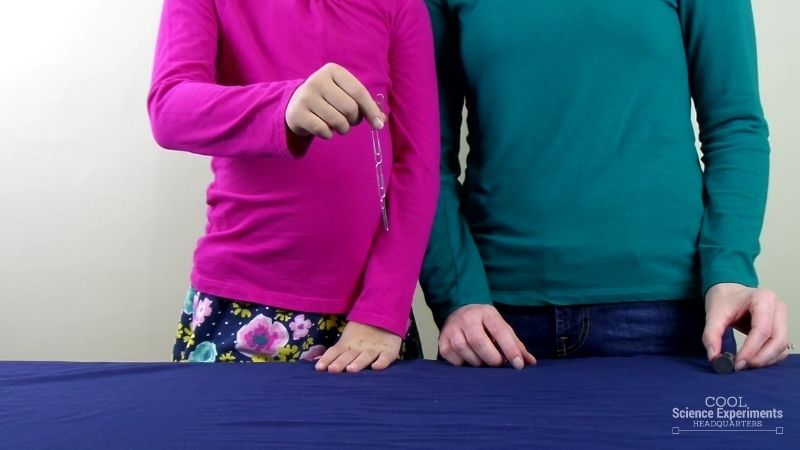
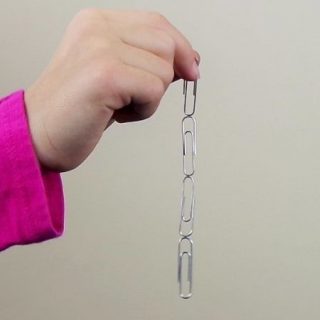
Step 5 – And as if the experiment wasn’t amazing already, let’s add a fun twist and remove the paperclip chain from the magnet. To do this, pinch and hold the first paperclip, then slowly pull the magnet away. Then watch in amazement as the paperclip chain stays together.

Do you know the why the paperclips stuck together, event when they weren’t attached to the magnet? Find out the answer in the how does this experiment work section below.
Video Tutorial
Use a Magnet to Create a Paperclip Chain Science Experiment Step by Step Instructional Video
How Does the Science Experiment Work
Paperclips are not naturally magnetic, so, on their own, they will not stick together to form a chain. However, by using a magnet the paperclips can become temporarily magnetized. The steel in a paper clip can be easily magnetized but will lose this magnetism quickly. Materials that can be temporarily magnetized, but then quickly lose the magnetism are known as temporary magnets. In this experiment, the magnetic force of the magnet is transferred through the metal paper clips. Once the paper clips become magnetized, you can place them together to form a chain.
In addition, once the magnet is removed, the paper clips will stay temporarily magnetized and still stick together.
More Science Fun
After conducting the experiment you can add to the fun and learning by turning the science experiment into a friendly competition. Take turns building a paperclip chain and see who can create the longest chain. The more powerful the magnet, the longer you will be able to make the chain.
Our longest chain was 5 paperclips and it took a lot of time and patience to get the fifth paperclip to stay connected.
Leave a comment to let us know how long you were able to make your paper clip chain.
Paperclip Chain Lab Kit – Only $5
Use our easy Paperclip Chain Science Lab Kit to grab your students’ attention without the stress of planning!
It’s everything you need to make science easy for teachers and fun for students — using inexpensive materials you probably already have in your storage closet!
I hope you enjoyed the experiment. Here are some printable instructions:
Paperclip Chain Science Experiment
Materials
Instructions

Leave a Reply