Oil bubbles? With this easy science experiment, kids can explore density and a little bit of chemistry as they make oil bubbles with just a few common kitchen items.
This experiment includes a demonstration video, printable materials list and instructions, experiment variations to try, and a simple explanation of how the experiment works.
JUMP TO SECTION: Instructions | Video Tutorial | How it Works | Purchase Lab Kit
Supplies Needed
- Large Empty Clear Jar
- 2 Cups of Water
- 1 Cup Vegetable Oil
- 4 Tablespoons of Salt
Oil Bubbles in Water Lab Kit – Only $5
Use our easy Oil Bubbles in Water Science Lab Kit to grab your students’ attention without the stress of planning!
It’s everything you need to make science easy for teachers and fun for students — using inexpensive materials you probably already have in your storage closet!
Oil Bubbles Science Experiment Instructions
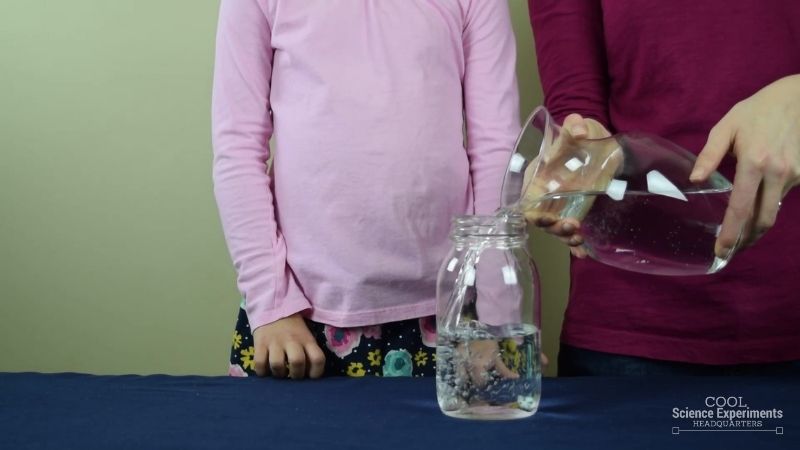
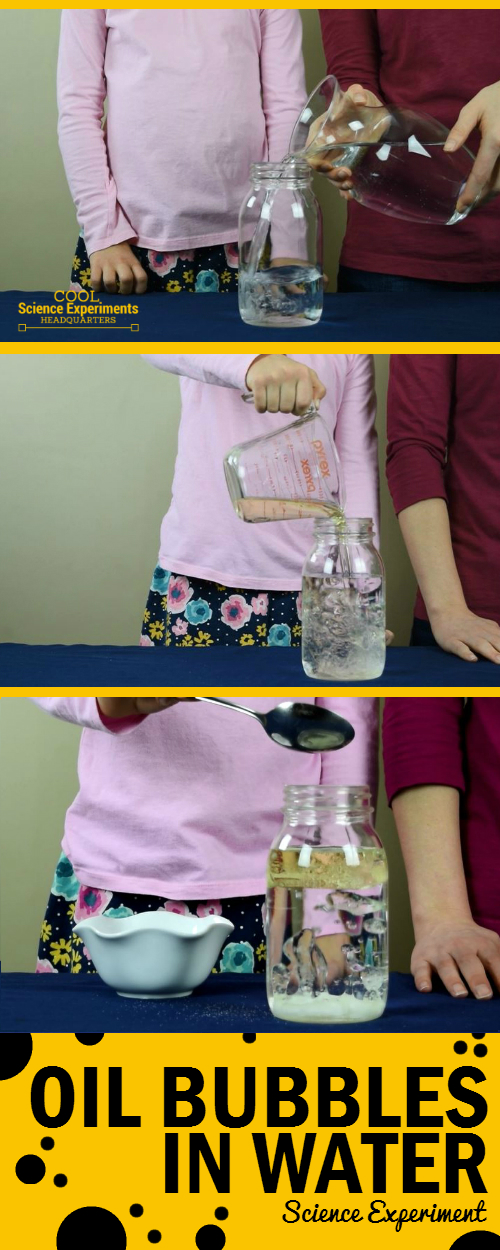
Step 1 – Begin by fulling a large jar about halfway full of water.
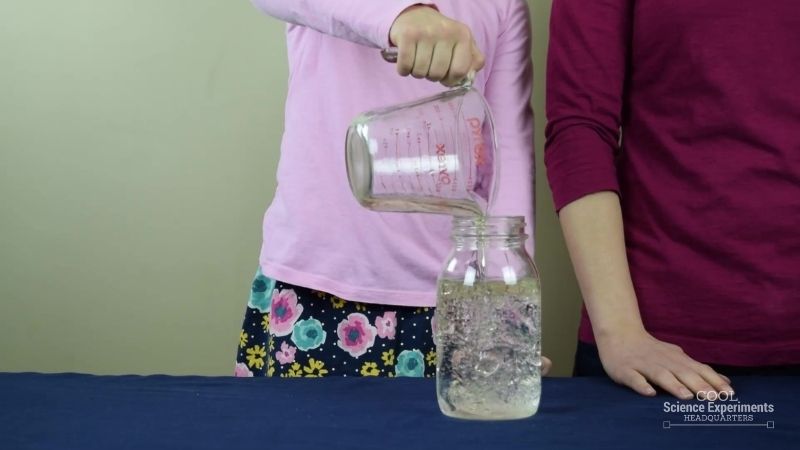
Step 2 – Next, add a cup of vegetable oil to the jar. Wait 30 seconds for the oil to completely separates from the water. Take a moment to make some observations. What do you notice about the oil and the water? What do you think will happen if you add salt to the jar? Write down your hypothesis (prediction) and then follow the steps below.

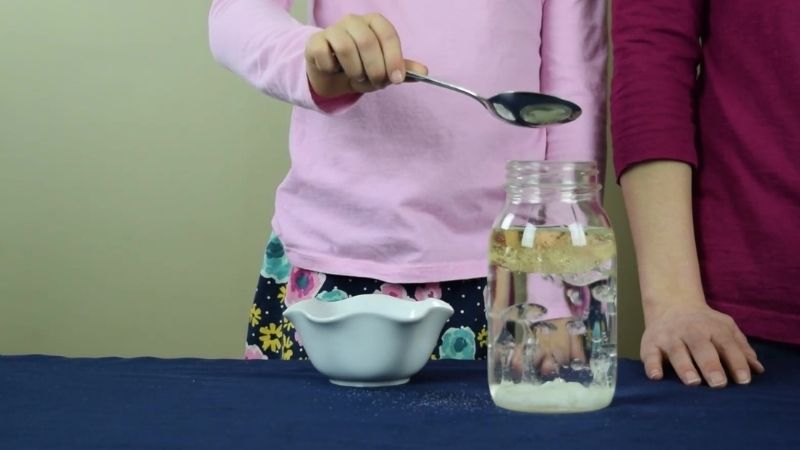
Step 3 – Add a heaping tablespoon of salt to the jar.

Step 4 – Observe what happens next. Do you see the bubbles form at the bottom and float back to the top? Do you know why this happens? Find out the answer in the how does this experiment work section below.
Video Tutorial
Create Oil Bubbles in Water Science Experiment Step by Step Instructional Video
How Does the Science Experiment Work
Oil and water don’t mix (no matter how hard you try) because of their densities and the chemistry of oil and water molecules. Let’s talk about the density of oil and water! Oil is LESS dense than water. This is because the molecules of oil are larger than the molecules of water, so oil particles take up more space per unit area. Oil particles aren’t packed as tightly together like water, so it is less dense and will rise to the top of the water. Now let’s talk about the chemistry of oil and water molecules! Oil (and other fats) are made of nonpolar molecules. Water is made of polar molecules that can interact with other polar molecules. Because oil and water are made of unlike molecules, they cannot interact with each other and stay separate.
When we add salt to the jar, it immediately sinks to the bottom taking a little of the oil with it. Once it gets to the bottom of the jar, the salt begins to dissolve. As the salt dissolves, the oil that was pulled to the bottom begins to rise back to the top of the water and create oil bubbles.
Oil Bubbles in Water Lab Kit – Only $5
Use our easy Oil Bubbles in Water Science Lab Kit to grab your students’ attention without the stress of planning!
It’s everything you need to make science easy for teachers and fun for students — using inexpensive materials you probably already have in your storage closet!
Other Ideas to Try
Try this experiment again using two jars. In one jar use warm water and the other jar use cold water. How do these two different temperature waters affect the rate at which salt dissolves (which jar do the oil bubbles rise the fastest)?
Try the experiment again, but instead of using salt, use an Alka Seltzer tablet. The fizz of the Alka Seltzer tablet will produce oil bubbles the same as the salt, but because this is a chemical reaction happening, it will be faster and more bubbles!
I hope you enjoyed the experiment. Here are some printable instructions:
Oil Bubbles in Water Science Experiment
Materials
Instructions

I have used a couple of these experiments with my P2/3 class and they love it. Anticipation and excitement can be felt in the classroom. The experiment s are very easy to carry out.