A fun science experiment and music lesson all in one! This easy experiment allows kids to learn and make noise (music) in the process.
Kids can explore and investigate sound waves, pitch, and more as they create their own simple musical instrument. Watch our demonstration video below then print out our materials list and instruction sheet to get started. An easy to understand explanation of how the experiment works is included.
JUMP TO SECTION: Instructions | Video Tutorial | How it Works
Supplies Needed
- Set of Glasses of equal shape and size
- Water
- Metal Spoon
- Food Coloring (optional)
Musical Jars Science Lab Kit – Only $5
Use our easy Musical Jars Science Lab Kit to grab your students’ attention without the stress of planning!
It’s everything you need to make science easy for teachers and fun for students — using inexpensive materials you probably already have in your storage closet!
Musical Jar Science Experiment Instructions
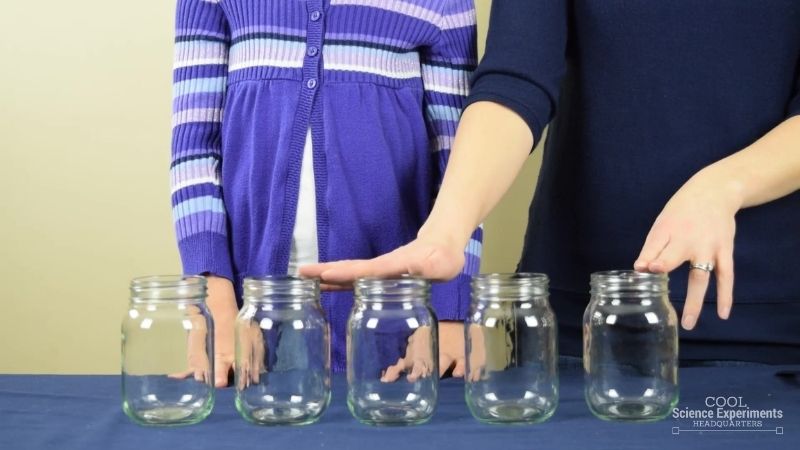
Step 1 – Begin with empty glass jars of the same shape and size. Use the metal spoon to tap on each one. What do you observe? Do they sound the same? Yes! At this point you’ll notice that each sound is the same. Now let’s find out if we can make the sounds different.
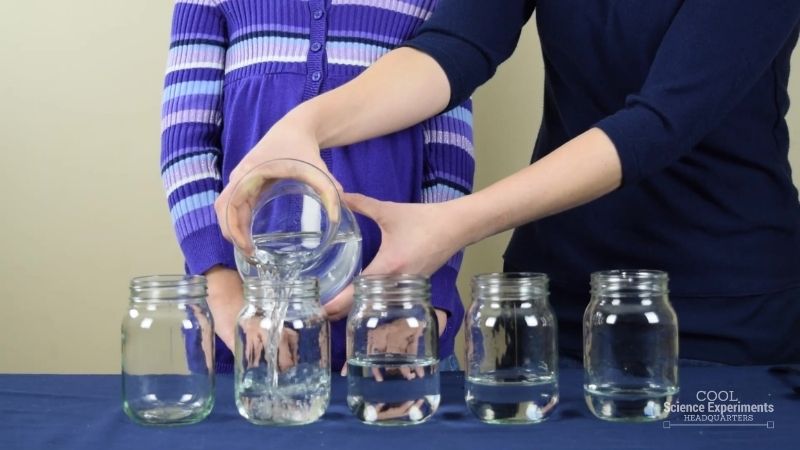
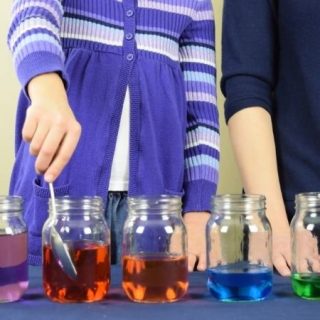
Step 2 – Pour water into each jar. Make sure that the water level is different in each jar.
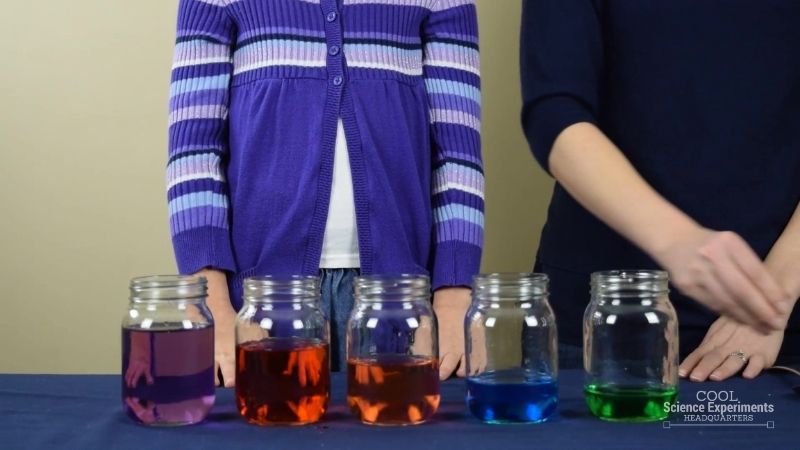
Step 3 – Add food coloring to each jar to make it easier to see the different water levels. You can use the same color in each jar or use a rainbow of colors as we did. This is an optional step, but it adds to the fun!

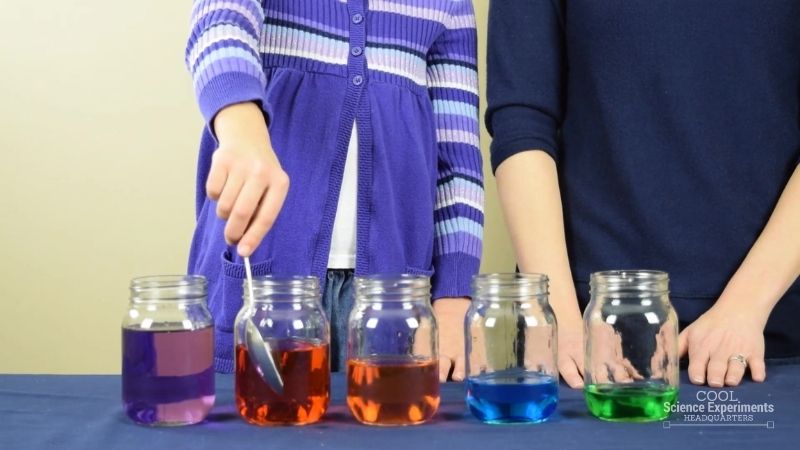
Step 4 – Use the same metal spoon to tap on the jars again. Listen carefully so you can hear how the sounds have changed. Do you know the reason why the jars make different sounds? Find out the answer in the how does this experiment work section below.
Video Tutorial
Musical Jars Science Experiment Step by Step Instructions Video
How Does the Science Experiment Work
Sound is a disturbance that travels through a medium as a wave. In this experiment, tapping on the jars with the spoon disturbs the particles of the jar causing them to vibrate. The vibrations in the jar are transferred to the air surrounding the jar, creating a sound wave. When the jars are all empty, the vibrations and the sounds are all the same. Adding different amounts of water to the jars causes the vibrations (and sound) to change.
You can change the pitch of the sound produced by the amount of water you put in the glass. Pitch is how high or low sound seems to a person and it depends on the frequency of the sound wave. When you add more water to the glass, the pitch is low. This is because the high volume of water in the glass makes it more difficult for the glass particles to vibrate, so the vibrations of the glass are slower and they have a lower frequency. When you add less water to the glass, the pitch is high. This is because the low volume of water in the glass allows the glass particle to vibrate more easily, so the vibrations of the glass are faster and have a higher frequency.
Musical Jars Science Lab Kit – Only $5
Use our easy Musical Jars Science Lab Kit to grab your students’ attention without the stress of planning!
It’s everything you need to make science easy for teachers and fun for students — using inexpensive materials you probably already have in your storage closet!
More Science Fun
After your kids understand the concepts of the experiment, turn it into a music lesson. Take turns playing songs and guessing the melody.
For another fun sound experiment, enjoy banging on a pan with this How to See Sound Experiment!
I hope you enjoyed the experiment. Here are some printable instructions:

Musical Jars Science Experiment
Materials
Instructions


I think because different levels of water makes different sounds because I think the more water makes it lower.