Ever wonder how clouds are made? This super fun and simple experiment will help teach your kids about the physical changes and reactions that happen as clouds form within the atmosphere. They will be amazed as they see their own cloud begin to take form while they learn new weather vocabulary.
In addition to creating your own cloud, you can use this chart to explore the different types of clouds and where they form in the sky.
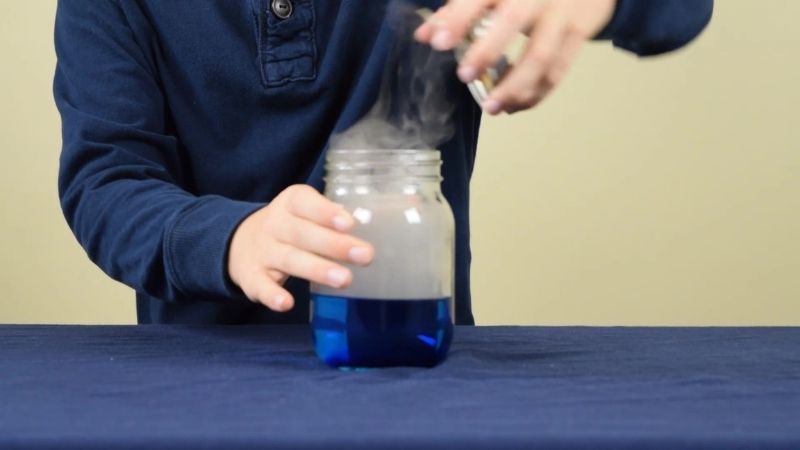
Below you’ll find our demonstration video, helpful tips to make your experiment successful, printable materials list and instructions, as well as easy to understand explanation of how the experiment works.
Note: Because this experiment requires boiling water, adult supervision is required.
JUMP TO SECTION: Instructions | Video Tutorial | How it Works
Supplies Needed
- Glass Jar with a Lid (we used a pint mason jar)
- 1 cup Hot Boiling Water
- Blue Food Coloring (optional)
- Aerosol Hairspray
- 3-5 cubes of Ice
Cloud in a Jar Science Lab Kit – Only $5
Use our easy Cloud in a Jar Science Lab Kit to grab your students’ attention without the stress of planning!
It’s everything you need to make science easy for teachers and fun for students — using inexpensive materials you probably already have in your storage closet!
Make a Cloud in a Jar Science Experiment Instructions

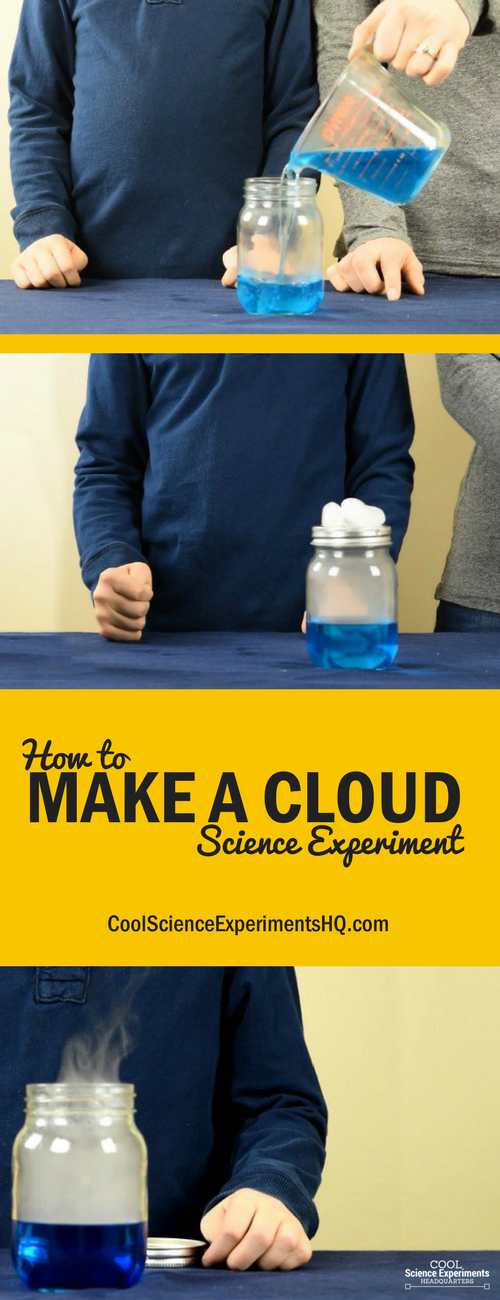
Step 1 – Pour 1 cup of hot boiling water into a glass jar. Helpful Tip: Use food coloring to dye the water blue before pouring it into the jar. This is not required, but does help distinguish the cloud from the water. Plus, it makes the water look like the sky.
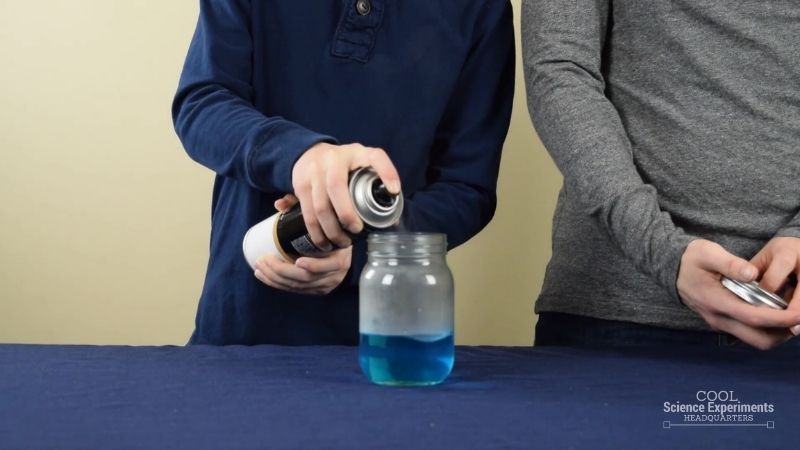
Step 2 – Quickly spray hairspray into the jar.
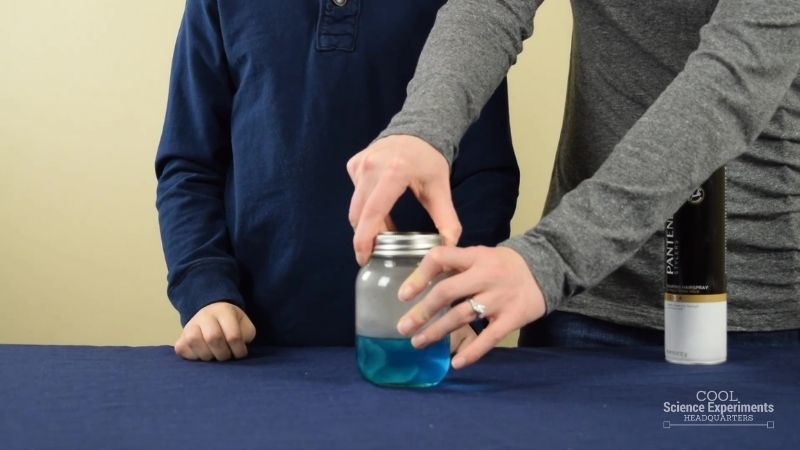
Step 3 – Immediately put the lid onto the jar. Helpful Tip: This step must be performed quickly, so have the lid handy. It also helps to have multiple people doing the experiment. One to spray the hairspray and one to put on the lid.
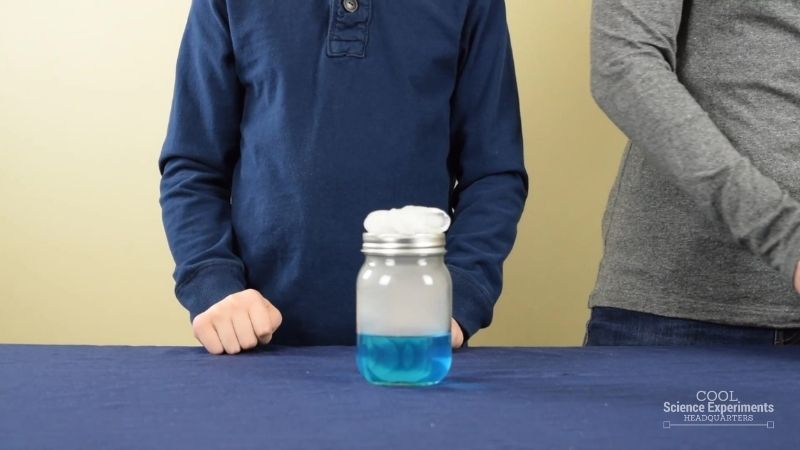
Step 4 – Place 3-5 pieces of ice on top of the lid of the jar.
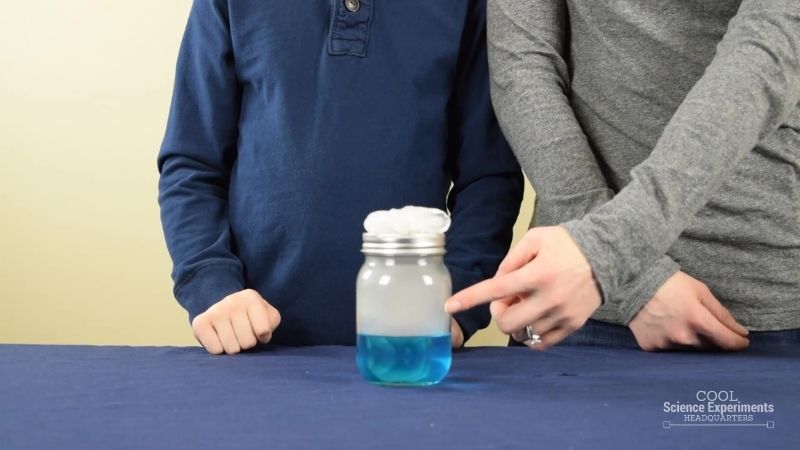
Step 5 – Now it’s time to observe what happens. Watch the top portion of the jar carefully and write down what happens. As time passes, you will see a cloud begin to form.

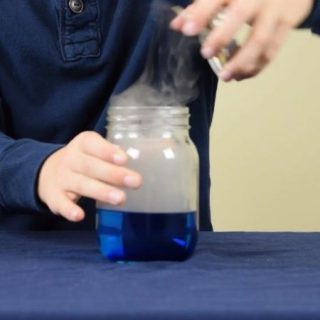
Step 6 – After observing the cloud form in the jar, remove the lid, and watch as it move out of the jar and into the air. Do you know the why the cloud formed? Find out the answer in the how does this experiment work section below.
Video Tutorial
How to Make a Cloud Science Experiment Step by Step Video
How Does the Science Experiment Work
Clouds form when water from Earth’s surface is heated and evaporates (physical change from liquid to gas), rises into the atmosphere, and then cools and condenses (physical change from gas to liquid) onto microscopic particles (ie. dust, dirt, ash) in the air.
In our experiment, the warm water in the jar caused the air inside the jar to heat up. When this happened some of the water evaporated into the air. This evaporation caused water vapor in the jar. Then the warm, moist air (water vapor) rose from the surface of the water to the top of the jar. Once it reached the top of the jar, the warm, moist air began to cool down. This is because of the ice that was on the lid of the jar. The water vapor in the cooling air then condensed onto the particles of hairspray, forming a cloud in the jar!
If you observe the cloud carefully, you’ll notice that it swirls around the jar. This swirling is caused by a convection current of warm air rising and cold air sinking. A convection current is a current caused the rising and sinking of a heated and cooled fluid.
Cloud in a Jar Science Lab Kit – Only $5
Use our easy Cloud in a Jar Science Lab Kit to grab your students’ attention without the stress of planning!
It’s everything you need to make science easy for teachers and fun for students — using inexpensive materials you probably already have in your storage closet!
I hope you enjoyed the experiment. Here are some printable instructions:
Make a Cloud Science Experiment
Materials
Instructions


love it
Thank you! Love this.
I loved the experiment, I would have liked to do it but I did not have all the ingredients
Nice!
Hi Danielle. Our class enjoyed watching the experiment, and learning how clouds are formed.
Very helpful thanks
so cooool
its awesome how the cloud forms, I love it!
Love the experiment, will definetly try in my class. But I have a question. What is the hairspray for?
I love it