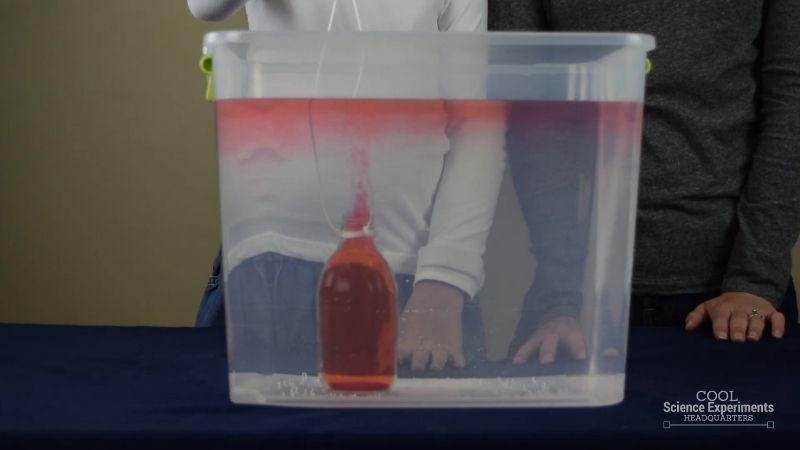
Watch out, our science volcano is about to erupt! This cool science experiment creates a fun visual and demonstrates the scientific fact that hot water rises and cold water sinks.
Gather your materials, read and print out detailed instructions, and discuss the science with our easy to understand explanation of how it works below. Continue the science fun with an introduction to the concept of hydrothermal vents.
Note: Because this experiment requires very warm water, please take caution.
JUMP TO SECTION: Instructions | Video Tutorial | How it Works | Purchase Lab Kit
Supplies Needed
- Small clear glass bottle with a narrow mouth
- Large clear contains that is at least 5 inches taller than the bottle)
- 3 ft. of String
- Food Coloring
- Hot Water
- Cold Water
Underwater Volcano Science Lab Kit – Only $5
Use our easy Underwater Volcano Science Lab Kit to grab your students’ attention without the stress of planning!
It’s everything you need to make science easy for teachers and fun for students — using inexpensive materials you probably already have in your storage closet!
Underwater Volcano Science Experiment Instructions
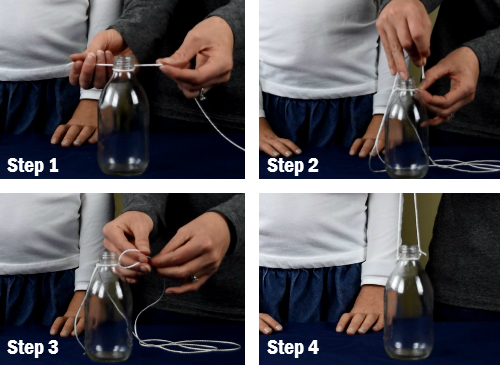
Step 1-4 – Begin with a small glass jar with a narrow mouth. Cut a long piece of string (3 ft) and tie one end around the mouth of the jar. Then thread the other end through the piece of string on the other side of the mouth of the jar. Tie that end into a knot. Ensure that both knots are tight and cut off any excess from the ends of the string.
Once you have finished, you have created a string handle that you will use to pick up and lower the jar.
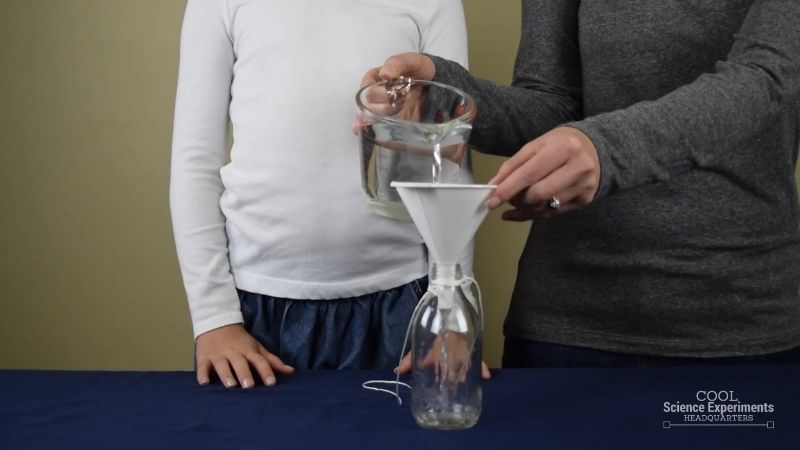
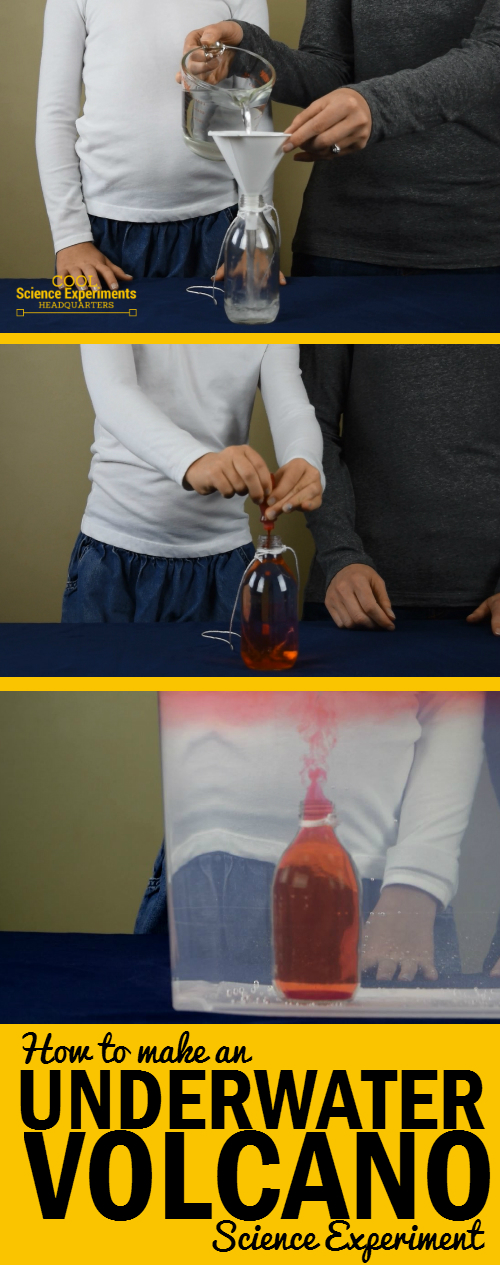
Step 5 – Next pour hot water into the jar. Use a funnel to make it easier to pour the water.
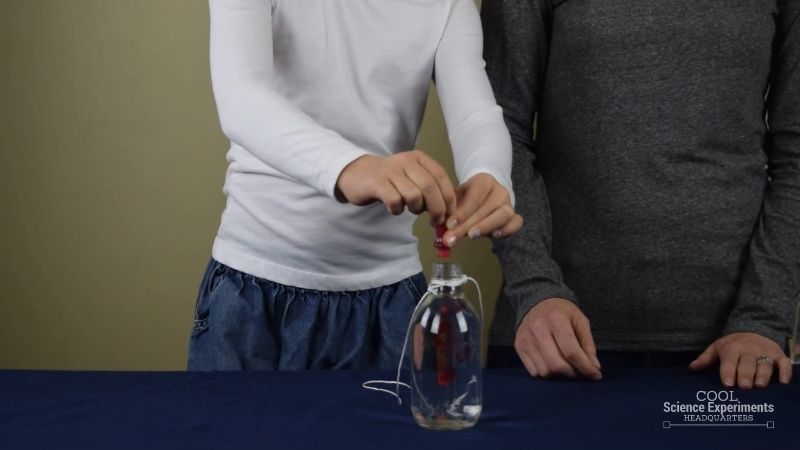
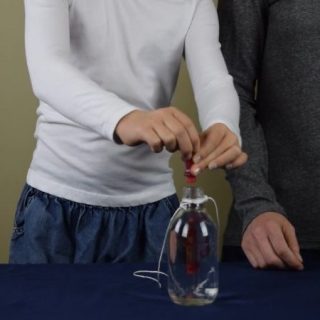
Step 6 – Add 5-10 drops of red food coloring to the jar. The water should be a dark red color.
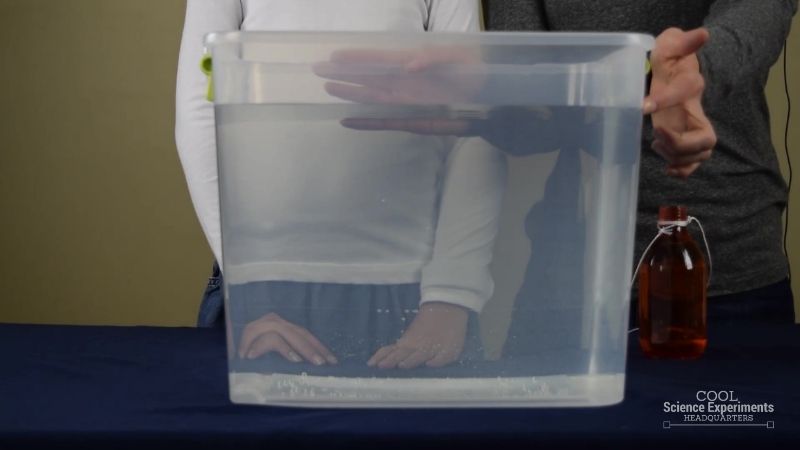
Step 7 – Next get a large clear container and fill it with cold water. The container must be taller than the bottle. For best results, the water level should be 4-5 inches higher than the top of the bottle.
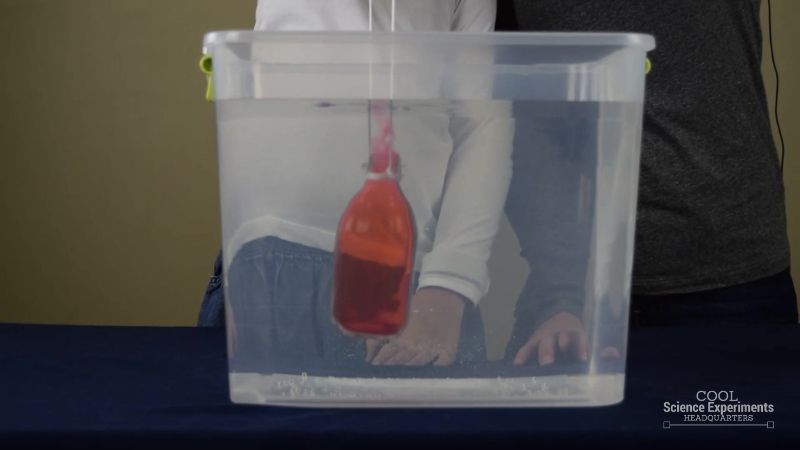
Step 8 – Carefully pick up the bottle using the string handle you created and slowly lower it into the container of water. Observe what happens next. Do you know why it looked like an underwater volcano? Find out the answer in the how does this experiment work section below.
Video Tutorial
Underwater Volcano Step by Step Instructions Video
How Does the Science Experiment Work
The “underwater volcano” is created because hot water rises and cold water sinks. The particles of the hot water are moving faster and are further apart than those particles of the cold water. As a result, when we placed the bottle into the container filled with cold water, the hot water in the bottle started to rise out of the bottle and circulate to the top of the container because it is less dense than the surrounding cold water. Less dense fluids rise and more dense fluids sink. The red hot water then remained at the top of the container and created what looked like an erupting volcano.
Underwater Volcano Science Lab Kit – Only $5
Use our easy Underwater Volcano Science Lab Kit to grab your students’ attention without the stress of planning!
It’s everything you need to make science easy for teachers and fun for students — using inexpensive materials you probably already have in your storage closet!
More Science Fun
This experiment is a great way to introduce the concept of hydrothermal vents found on the deepest parts of the ocean floor. Hydrothermal vents are the result of seawater seeping down through fissures (cracks) in the ocean crust. The cold seawater is superheated by hot magma below the Earth’s crust and comes back to the surface to form the vents.
I hope you enjoyed the experiment. Here are some printable instructions:
Underwater Volcano Science Experiment
Materials
Instructions


Leave a Reply